Many times we can purchase unfinished miniatures more economically and finish them ourselves. Below are some tutorials to create different looks on wooden dollhouse furniture.
Standard Stain
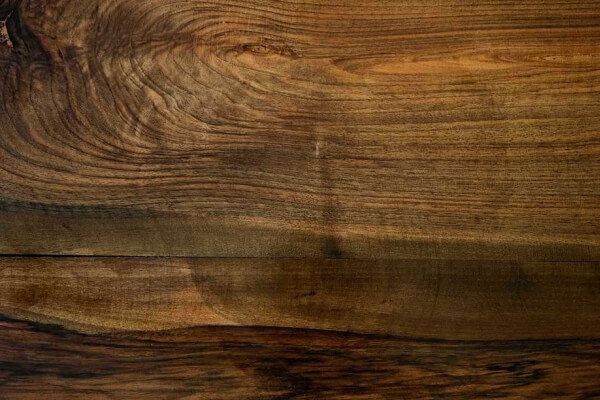
According to popular woodworking you should sand the piece to the desired smoothness WITH THE GRAIN. It's crucial to sand with the grain, especially when staining wood. Then skip the brush and instead opt for the towel. Wiping is fast, almost as fast as spraying (without the downside of having to clean the spray gun). Wiping is also every bit as effective in all situations except possibly into recesses such as inside corners, fluting, deep carvings and the like. I prefer a cotton shop towel as it holds just enough stain and is porous enough to create nice highlights.
Charred Wood
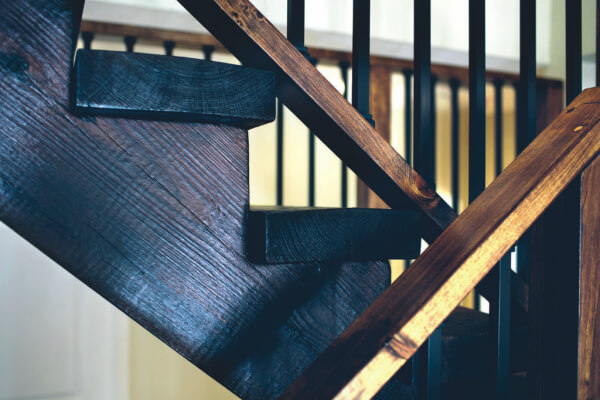
The centuries-old Japanese technique of charring is called shou sugi ban. In this method of charring the face of wood siding on buildings to preserve them against weathering, rot, and insect attack. Today's charring technicians burn each plank individually, then, depending on the desired finish, scrape it with a stiff brush and seal it with an clear acrylic.
Burned Grain
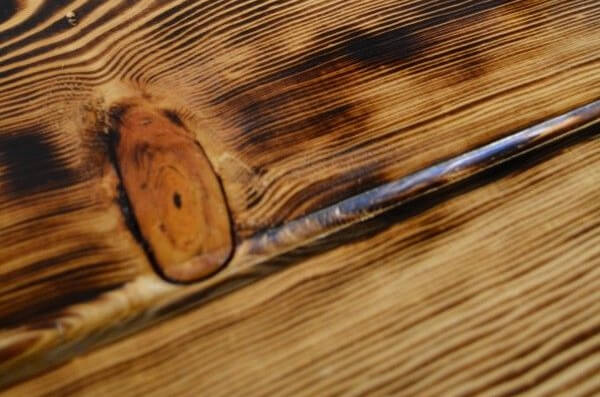
This is one of my favorite ways to finish a wood project. In this method some sanding is okay, but you want to leave a texture to the wood. Once you have cleaned the wood, simply use a small handheld propane torch to burn glints across the grain. Be very careful to keep the torch moving and never stay in one area long or you will over burn it.
Weathered Paint
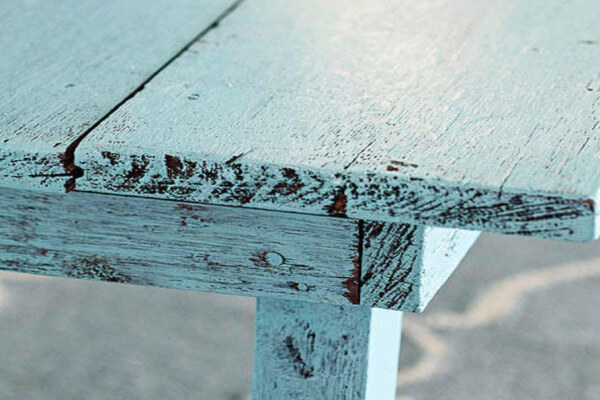
For this you will need to shades of latex paint. Normally people use to shades of the same color, but contrasting colors work too and can be very eye catching. Sand your wood down with larger grit sandpaper for a semi-rough surface and clean it. Then apply the darker color paint you chose thin enough to allow cracks to show through. Allow paint to dry for 24 hours. Place a small amount of your lighter shade of paint in a container. Mix in water, 1 teaspoon at a time, until paint is thin like a wash but not so thin that it bubbles when you apply it. Apply the wash to the table using a foam brush. While it is wet, wipe some areas with paper towels to achieve an antiqued look. Allow the paint to dry for 24 hours. To create an even more antiqued look, lightly sand the edges and corners of the table with fine-grit sandpaper, concentrating on edges and areas of natural wear to keep it authentic looking.